

Do-It-Yourself Home Manicure!
Like most other people, I love going to the nail salon and getting pampered. But manicures can get costly if you keep a regular appointment, especially if you upgrade to gel, dip powder, or add designs. And let’s be honest- you basically need to upgrade to gel or dip if you want the color to last.
Do-It-Yourself Home Manicure
I have been doing my own nails at home forever, and save the salon gel manicure for a special occasion, like when I’m going on vacation. After years of using different products at home, I think I’ve finally found my holy grail of nail products that can make my at-home manicure last a week at a time with no chips! I keep my nails relatively short since they are naturally pretty weak and will break if they grow past a certain point. Here I show you how a do-it-yourself home manicure can last a week!
How to Make Your Home Manicures Last a Week!
Here’s what I use, in order, to keep my home manicures fresh and long-lasting! (Affiliate links used):
Step 1:
First, even if I don’t have any polish on, I still use an acetone-based nail polish remover over my nails to make sure they have no residue or oil, which can make your nail polish chip or peel. I like this polish remover, but any brand will do! Wash your hands with basic soap after using the polish remover and be sure your nails are completely dry. Don’t put on any lotion! I also like to push my cuticles back at this time.
Step 2:
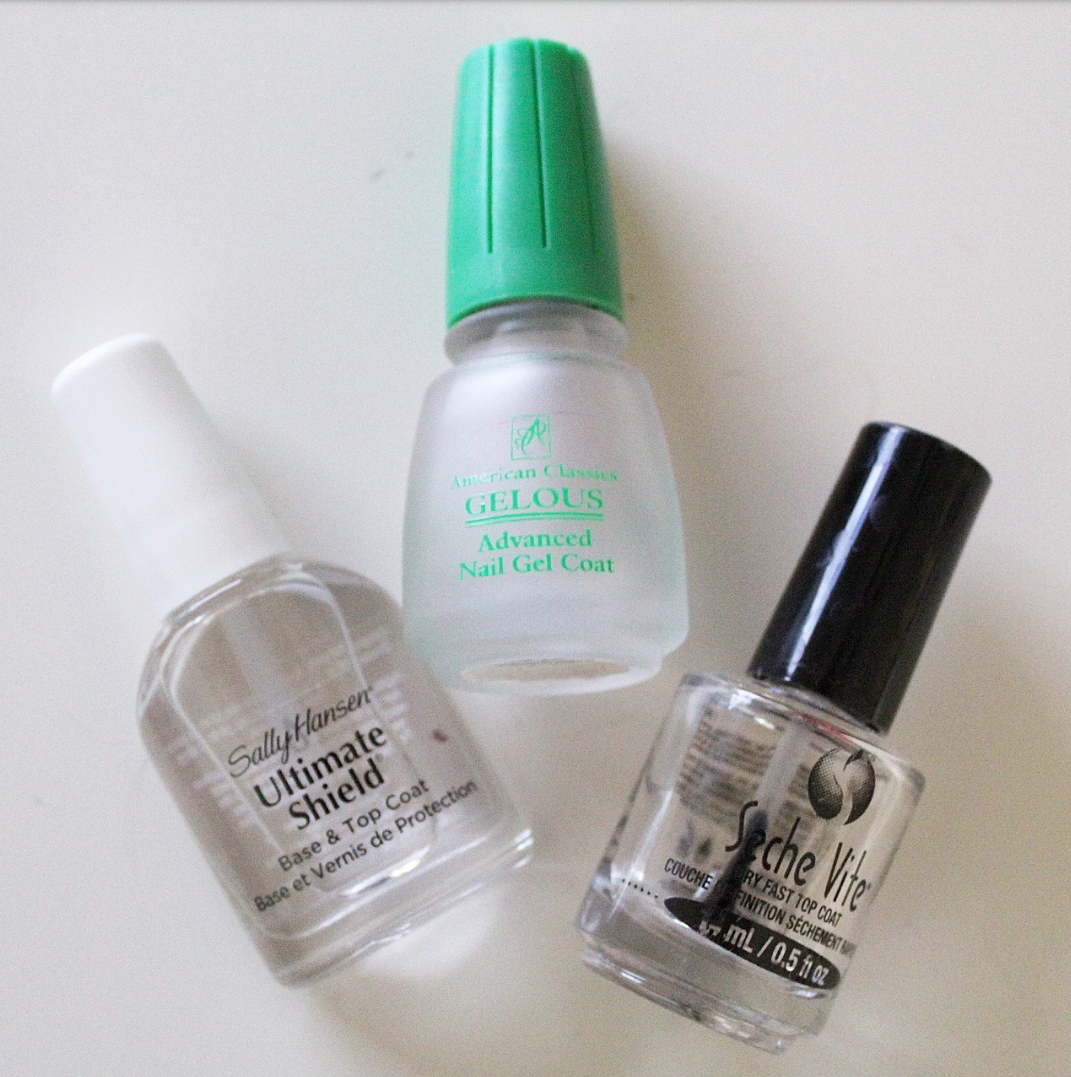
I use this Sally Hansen Ultimate Shield Base Coat (also doubles as a top coat) as my base layer. It makes my nails feel harder and stronger.
Step 3:
I allow the base coat to dry for about 90 seconds, then apply one layer of color. My favorite brand of nail polish is Essie– I probably have about 25 different shades right now! My go-to shades are Blanc, Muchi Muchi, Chinchilly, and Bordeaux (amongst countless others!).
Step 4:
This step is probably the most important and I believe is the reason my manicures last so long! After I let my first color coat dry for about 2-3 minutes, I put on a layer on this clear gel coat (I purchase this through Amazon). I allow that to dry about 2-3 minutes, and then apply a second color coat.
Step 5:
I allow my nails to dry for about 10 minutes after my second color coat, then apply this fast-dry top coat. It is the best ever! My nails are dry, shiny, and hard after just 90 seconds. I’ve gone through several bottles of this and can’t see myself ever letting go!
And that’s it! It may sound like a lot of steps, but it takes a lot less time than going to the salon (and is a whole lot cheaper)! Side note, I may do my fingernails at home, but I will never give up my salon pedicures! There is no replacing a massage chair and leg massage!
What are some of your favorite nail polishes? Do you have any tricks to making your manicures last longer?
P.S. Want to find out my daily makeup routine too? Head to the post here!


3 Comments
I think this is what I will be doing in pedicure form tomorrow night!! xoxoxo
[…] DIY Home Manicure / Fabulously Overdressed […]
[…] P.S. Check out my at-home manicure post here! […]